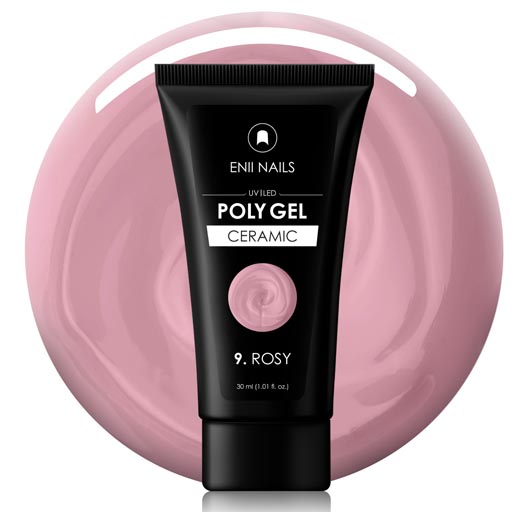
Enii Nails recently introduced the Ceramic concept. This is a completely new modern and innovative product concept, based on the addition of minerals, without the 22 most toxic components and without the huge allergen HEMA. The gel varnish collection without HEMA was the first to see the light of day, and now we bring you another novelty - POLY GEL CERAMIC in a tube. Thanks to its benefits, it ranks among the most modern professional gel-based poly gels in a tube. It stands out for its strong adhesion, high durability, and a very light and flexible nail feeling.
Poly gel is a hybrid gel that combines acrylic hardness and gel flexibility. This is a very innovative system in nail modeling. It is suitable for nail tips and modeling templates as well as for all types of natural nails. It is odorless, very firm after curing and easy to work with it.
Thanks to the properties of poly gel, modeling with it has become a very popular market leader in nail modeling. It is widely sought after by both: professionals and so-called "home" users. Its relatively simple application and adhesion are the reasons, why it is so popular.
The application itself is very similar to working with acrylic, but the advantage is that the poly gel does not harden until you harden it in a UV/LED lamp. Therefore, you can calmly model your fingernail to your complete satisfaction. Although the poly gel is hard and durable, it is very light and easy to file (we recommend PRO Bubble file files). The elasticity, or flexibility, of the poly gel comes from the gel system. As well as the density that makes it easy to work with. A big benefit is also the absence of odor, which is quite pronounced when working with acrylic.
ENII NAILS brings 9 new shades of poly gel in a tube
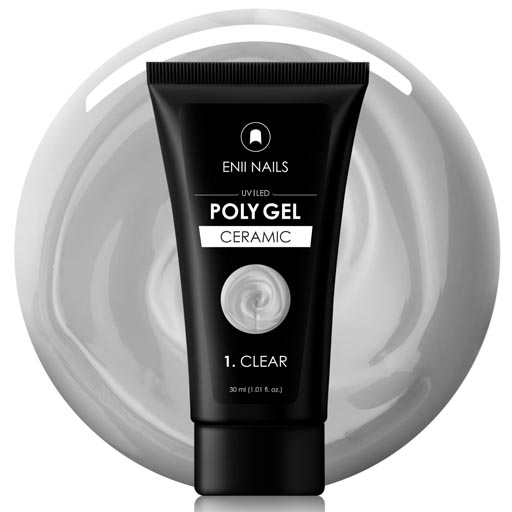
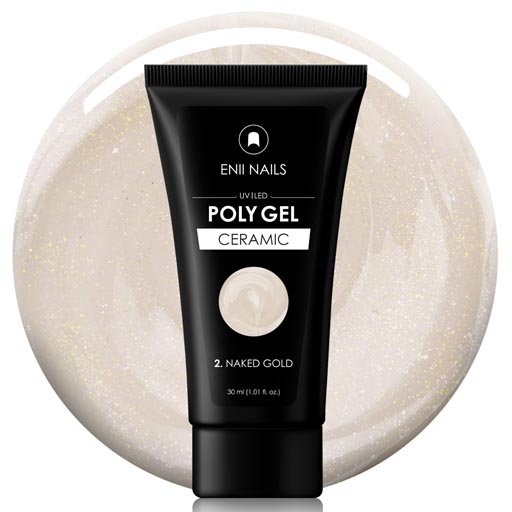
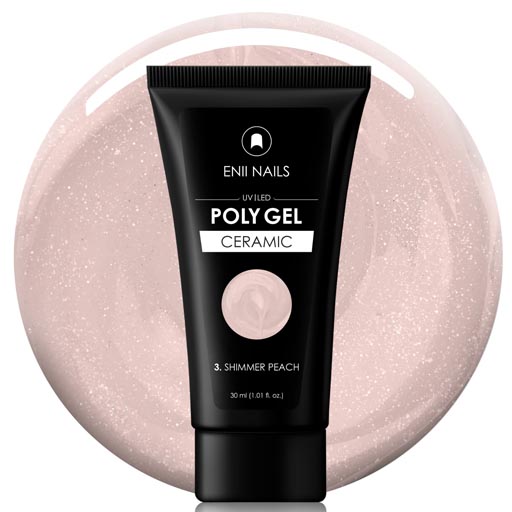
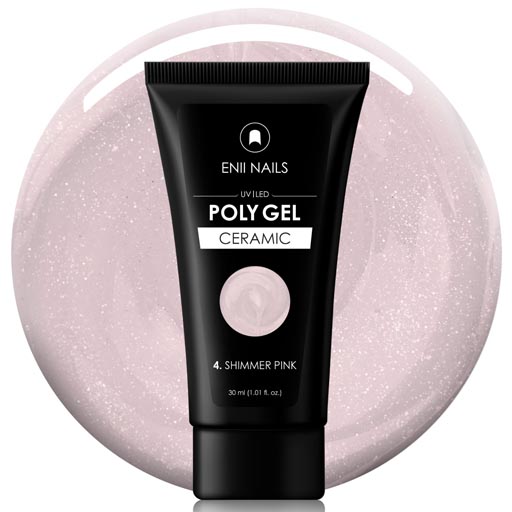
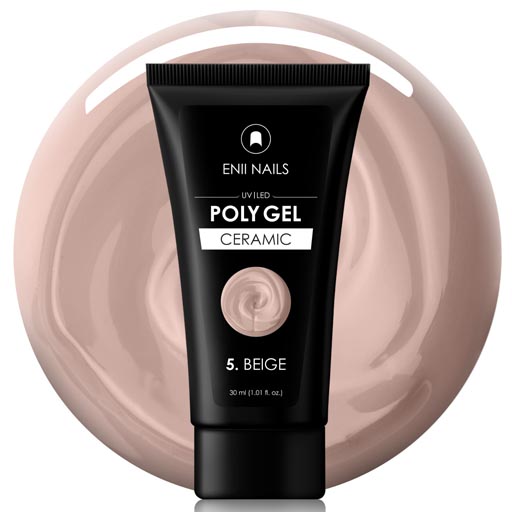
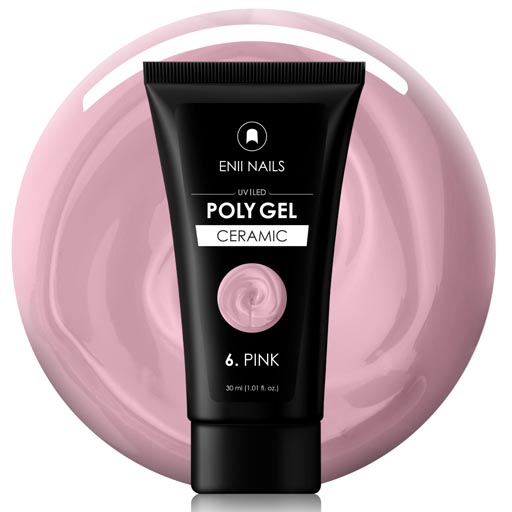
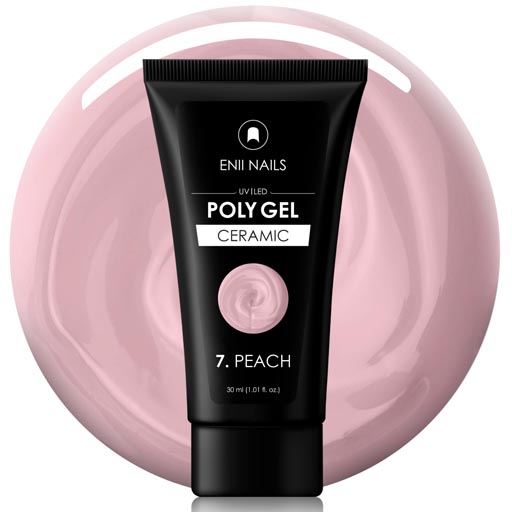
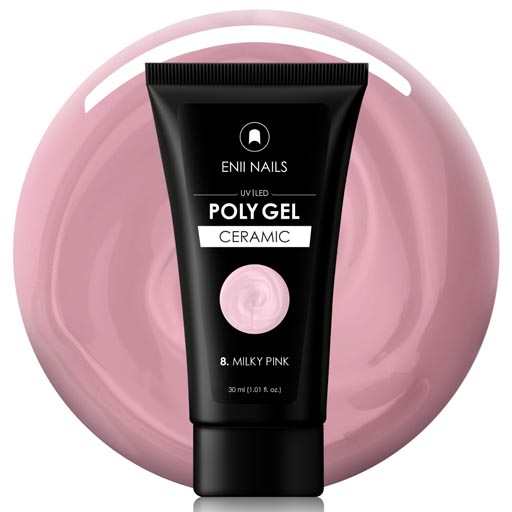
Working with poly gel requires a special brush, which has "hair" on the one side and a spatula on the other, so you can pick up and apply the poly gel mass on the nail. ENII Nails offers a high-quality poly gel brush with synthetic brown hair, oval cat tongue shape, Ø 6 mm, 8 mm hair length and a 3 cm long spatula.

Poly Gel application:
- We start with a thorough manicure to best prepare our nails.
- Now we need to apply Nail Prep for dehydration, degreasing and disinfection of the nail. Please note that we do not touch anything after this application e.g., don´t touch your face or hair after this step.
- After that we use Super Stick (contains HEMA) or Hard Base Ceramic (which, of course, must be hardened) and thus maintain the entire system without HEMA. Note Gummy Base Ceramic can also be used, but it again contains HEMA.
- Then apply the required amount of poly gel directly on the nail or on the base with a metal "spatula" or pusher. We choose the material according to the size of the area, it is usually a pea-sized ball.
- With a brush soaked in a liquid designed for poly gel, we model the material into the desired shape, cure in a UV/LED lamp for at least 60 seconds, depending on the strength of the applied material. (Note: our Hybrid Cleaner Universal can also be used as a modeling liquid, its versatility allows this.)
- We apply the color (gel varnish, color gel, nail art decorating ...) or leave it like this with a natural look.
- Finally, we apply the top gel and harden it in a lamp.
POLY GEL is suitable for home and professional use.
REMOVAL
Remove it gently with the help of our remover. Yes, you can see well. Our POLY GEL Ceramic is a “soak off”, which means that it is soluble.
- We grind or file the top layer of material off. This phase is necessary for every material because the top gel is designed to be completely durable and therefore insoluble. It is therefore necessary to file it off completely. We must file off the top layer with a coarse file.
- Then we wrap each nail in remover foils soaked in the remover. (We recommend the Hybrid Remover Universal, as its reinforced composition guarantees removal. We cannot guarantee removal for other removers).
- Make sure that the swab in the foil covers the entire nail surface and that the contact is firm.
- Carefully press the foil to the nails and we pay special attention to the nail rollers.
- Apply to all nails and leave on for at least 15-25 minutes. The removal time depends on many factors: the use of an adhesive (can cause very poor removal) or a dehydrator, the thickness of the individual layers, the degree of damage to the top layer, damage, dryness of the nail and more.
- We begin to feel a gentle warmth on our nails.
- Remove the foil and use an orange stick or pusher to remove the material that has risen from the nail.
- If removal is difficult, rewrap the nails in foil for another 5 minutes. It is possible that the nail did not have enough heat or is thin and damaged and the adhesion of the material was therefore stronger.
- After removing the material, we can gently refile the nail with buffer and wipe with a pulp swab soaked in a remover.
- If we do not proceed further, i.e., by applying additional modeling or gel varnish (before which the nail would have to be degreased with a cleaner), we continue by applying oil or nourishing serum to cuticles and nails with massage (Care Concept).
Removal with a Nail Drill
We choose a suitable type of nail drill and carefully grind the material. We only use this method of removal if we have sufficient experience with the electric nail drill machine. There is a risk of injury and sharpening of the natural nail. Advantage - speed. Disadvantage - there is a risk of destroying nails. You can read more information about which nail drill machine to choose in our article HERE.
HOW TO GET ALL THE MATERIAL FROM THE TUBE
The tube is very practical when applying the material, but once nothing can be squeezed, it is bad. There are various tube extruders, but we have experience that there is still a lot of material left in the tube. Therefore, it is necessary to keep an old crucible from gel or poly gel, and as soon as we do not squeeze anything out of the tube, we simply cut the tube and scrape off all the remaining material with a spatula and put it in that crucible. We will use all the material that the tube hides.
SAFETY INFORMATION
- This product is not suitable for children. Keep out of reach of children.
- Avoid skin contact. The product should not be applied outside the nail, on the surrounding skin. If this happens, wash with soap and water before curing. Seek medical attention if skin irritation occurs. Even if it does not contain HEMA, an allergic reaction to any other ingredient may occur.
- Avoid contact with eyes. If this happens, rinse with a few minutes of water and see a doctor if the eye is irritated.
- Do not use this product if an allergic or other non-standard reaction occurs.
- Professionals, always use disinfectant and rubber gloves when applying.
- Recommended storage: keep tightly closed, at room temperature, without direct sunlight, pay attention to direct contact with UV or LED fluorescent lamps not only in the lamp, which can also slightly cure the material and then its functionality is reduced.
