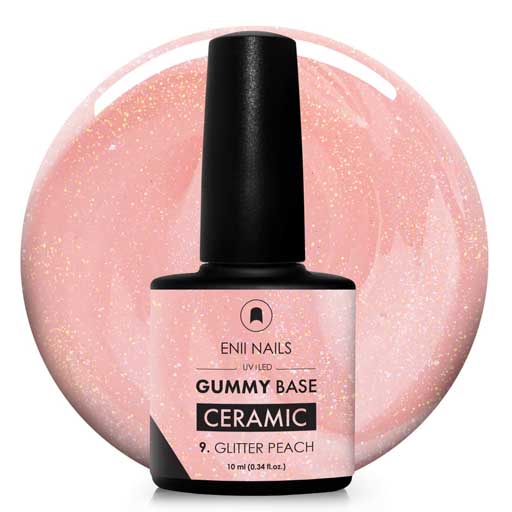
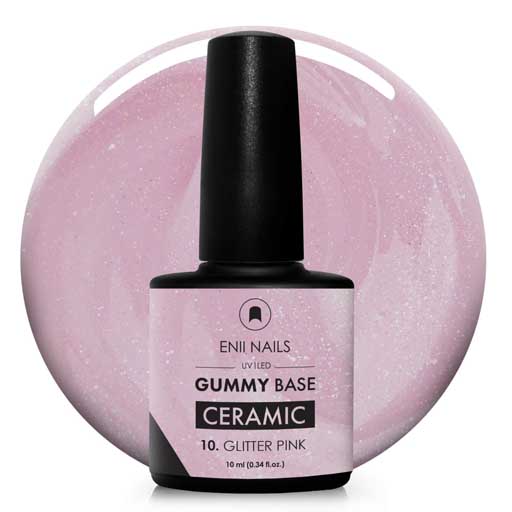
We as ENII NAILS are glad to present you the new line CERAMIC Gummy Base. This new line consist of completely unique gels, which have the properties of rubber gels, they are flexible and elastic, but after curing this gel is much harder and more durable than others. Thanks to the ingredients that give the gel hardness, we can slightly lengthen the nail and it is perfectly compatible with Ceramic Gel Varnishes. Together, they form a perfect symbiosis of hard and durable material that will last on our nails for several weeks.
.jpg)
Gummy / Rubber Base is an exclusive, very flexible base gel that is suitable for all types of nails, even damaged ones. Gummy Base adheres perfectly to the nail, evens out the unevenness of the nail bed, strengthens the nail and ensures the extension of the manicure.
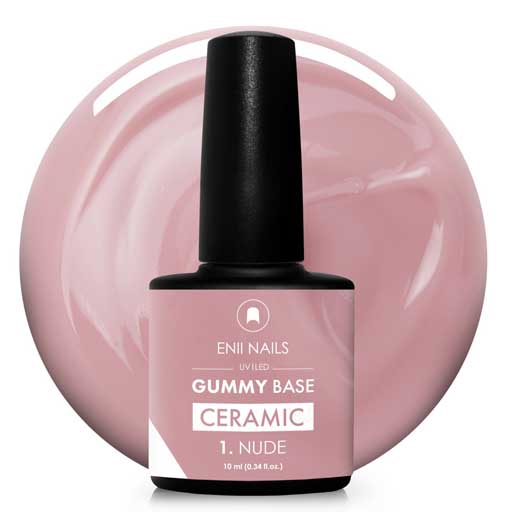
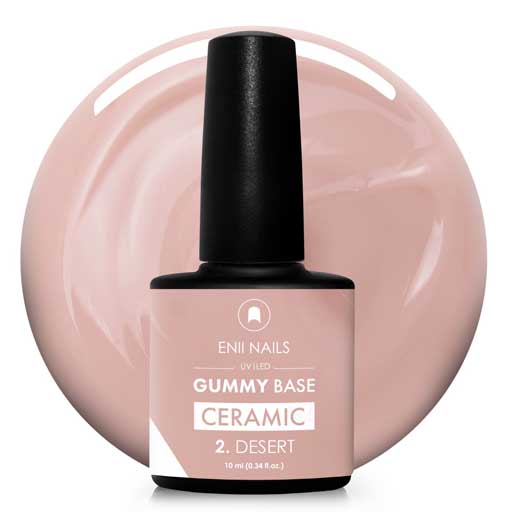
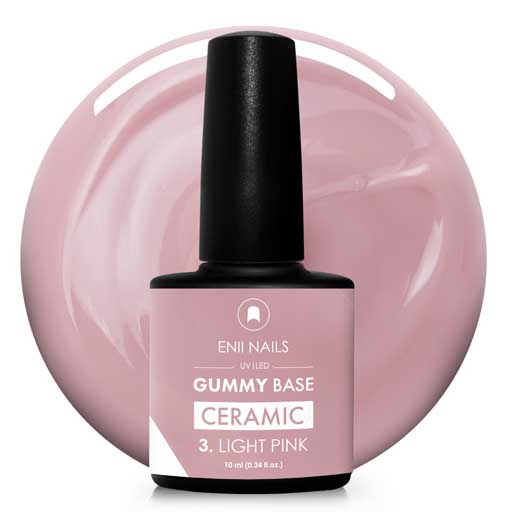
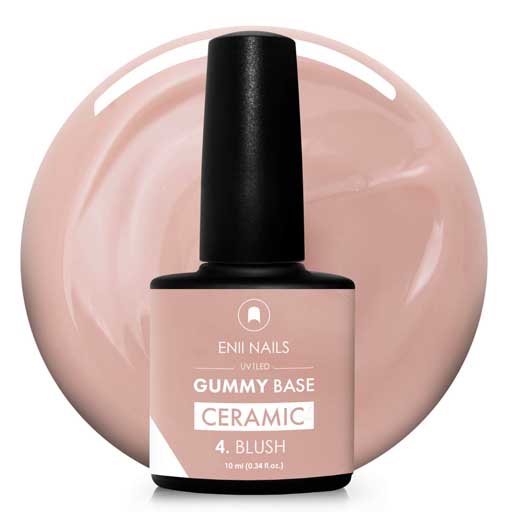
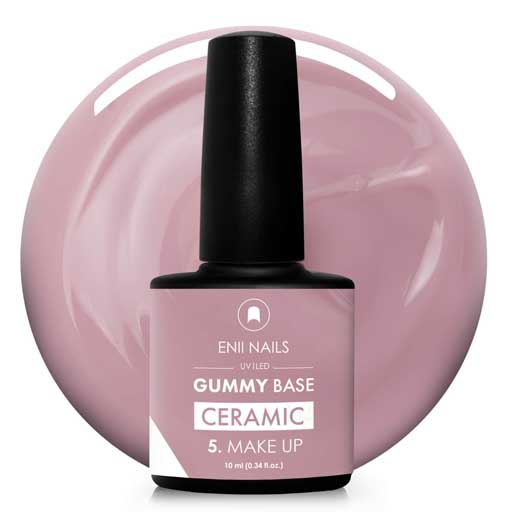
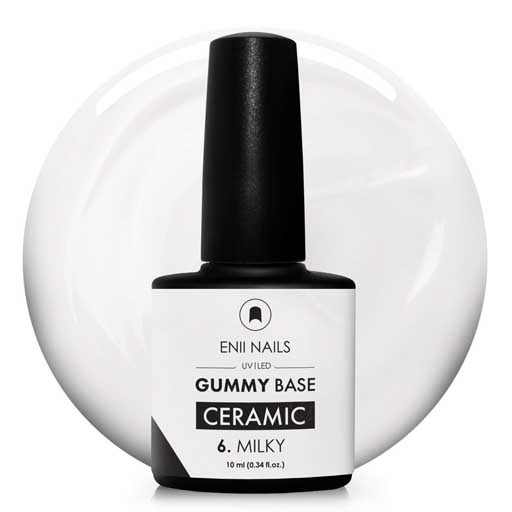
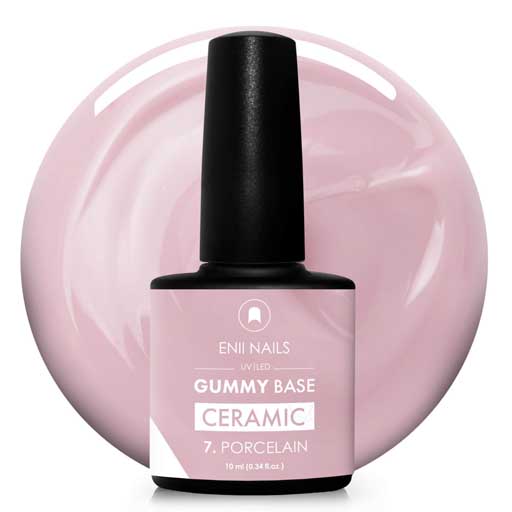
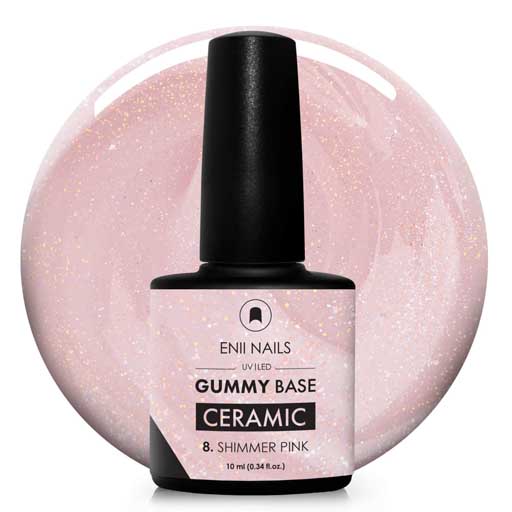
CERAMIC Gummy Base can be used as a base gel under Gel Lac Ceramic varnishes in one thin layer, but also separately, because we bring it in 10 beautiful shades, and it is possible to leave it in a natural look.
And what is another bonus of CERAMIC Gummy Base? Unlike others, it is completely soak-off or soluble by our Hybrid Remover.
HEMA and toxicity
Both the CERAMIC Gummy Base (clear) and the CERAMIC Gummy Base color collection currently contain HEMA monomer. As we have already mentioned, products without this allergen are still under development and there are few nail products in our range, that do not contain it. While at CERAMIC Base Thick, CERAMIC Gel Lac and CERAMIC Polygel we can confirm the absence of this allergen, at Gummy Base we believe in rapid development and in the near future we will be able to look forward to flexible gels and construction gels without HEMA.
But what we can confirm is that CERAMIC Gummy Base and CERAMIC Gummy Base colors have a non-toxicity of 22 FREE, so they are harmless to the body and do not harm the nails.
.jpg)
- duration: 21+ days
- viscosity: medium gel consistency
- pigmentation: strong
- self-leveling: medium to high
- strength after curing: strong
- curing time in UV/LED lamp: 60sec
- application procedure: with the brush contained in the bottle
- effluent layer: yes
- removal: gel remover
- soak off / dissolution remover: yes
- removal time: 20-25 min. when the top layer is damaged by grinding or sawing
- color: color collection (10 shades)
- non-standard factors: weak nail, brittleness, dryness, discoloration, hormonal imbalance…
- functional system: CERAMIC Gummy Base + CERAMIC Gummy Base + TOP
We are currently offering 10 shades
Application procedure:
Preparation:
- Remove any old material. Take good care of the cuticle, clean the nail blank and clean the nails with a cleaner to remove grease and moisture from the nail. Soak a cellulose swab in the cleaning fluid and gently wipe the nail plate. Be sure to clean the entire area, especially the nail walls and the cuticle area.
- Then use a very fine nail file to gently roughen (obscure) the nail, again making sure you have gently roughened the area of the nail walls and cuticle.
- Use a new cellulose swab soaked in a cleaner to remove dust after roughening the nail. Avoid touching the nail surface with your finger so that grease is not transferred, which will prevent the material from adhering.
BASE + BUILDING + TOP- Apply Nail Prep to all nails for degreasing and dehydration.
- Start with the left hand and apply one thin layer of CERAMIC Gummy Base (an excellent method is the "fan-in-base" technique into the nail plate, which you can learn in detail in our courses or videos of our nail technology.)
- Apply on 4 fingers at a time and cure in a professional UV / LED lamp for 60 seconds. The surface after polymerization will have a flow layer that you do not touch.
- Continue applying the thumb and then polymerize for 60 sec. Pay attention to the straight position of the thumb when curing.
- Once you are done with all your fingers, you can proceed to the next step.
- Apply a thin layer of Gummy Base and immediately a larger layer of gel to "build" the nail into the untreated exudate. Then polymerize immediately for 60 sec. Do not wipe or touch the effusion again, only if you do not need to file. If you need to make a shape correction, wipe off the effluent, shape the nail.
- If we have finished modeling, we apply the paint or finishing gel DRY Top or Dry Matt. Allow to cure for 60 sec.
- After the finishing gel has hardened, you are done. Dry Top and Dry Matt have no effusion.
- Follow the same steps with your right hand.
- Finally, we drip a drop of caring oil and massage it into the cuticles with gentle movements not only in the area of the nail Matrix, but also in the area of the nail walls.
REMOVAL
Gentle removal with the help of a remover
- File off the top layer of the material sufficiently.
- Then wrap each nail in remover foil soaked in the remover (we recommend Hybrid Remover Universal, for its reinforced properties).
- Make sure that the swab in the foil covers the entire nail surface and that the contact is firm.
- Press the foil on the nails carefully and pay special attention to the nail rollers.
- Apply to all nails and leave on for at least 20-25 minutes. The removal time depends on many factors: the use of an adhesive or dehydrator, the thickness of the individual layers, the degree of damage to the top layer, damage and dryness of the nail and more.
- We begin to feel a gentle warmth on our nails.
- Remove the foil and use an orange stick to remove the material that has risen from the nail.
- Should the removal be difficult, rewrap the nails in foil for another 5 minutes. It is possible that the nail did not have enough heat or is thin and damaged and the adhesion of the material was therefore stronger.
- After removing the material, you can gently refile the nail with buffer and wipe with a pulp swab dipped in remover.
- If we do not proceed further, ie by applying additional modeling or applying a gel varnish system (before which the nail would have to be degreased with a cleaner), we continue by applying oil or nourishing serum to cuticles and nails with massage.
Removal with a nail drill machine
We choose a suitable type of milling machine and carefully grind the material. We only use this method of removal if we have sufficient experience with the electric grinder. There is a risk of injury and sharpening of the natural nail. Advantage - speed. Disadvantage - there is a risk of nail damage.
SAFETY INFORMATION
- This product is not suitable for children. Keep out of reach of children.
- Avoid contact with skin. The product should not be applied outside the nail, on the surrounding skin. If this happens, wash with soap and water before curing. Seek medical attention if skin irritation occurs. The product contains HEMA, an allergic reaction to it and to any other ingredient may occur. If this happens, stop using the product immediately.
- Avoid contact with eyes. If this happens, rinse with a few minutes of water and see a doctor if the eye is irritated
- Do not use this product if an allergic or other non-standard reaction occurs.
- Professionals, always use disinfectant and rubber gloves when applying.
- Recommended storage: keep tightly closed, at room temperature, without direct sunlight, pay attention to direct contact with UV or LED fluorescent lamps not only in the lamp, which can also slightly cure the material and then its functionality is reduced.